Streaming has become one of the most popular ways to share content with the world, whether you’re into gaming, live performances, or content creation. To deliver high-quality streams, you’ll need a solid setup, and knowing how to build a streaming PC is the first step. This guide will walk you through everything you need to know to build a powerful streaming PC that can handle live streaming without hiccups.
Why Build a Streaming PC?
Before diving into the components and setup, it’s essential to understand why building a dedicated streaming PC can be beneficial:
- Performance: Streaming requires a lot of processing power. Building your PC allows you to customize it to handle both gaming or content creation and streaming at the same time.
- Customization: You can choose the exact parts you need, from a powerful CPU to an optimized GPU, to ensure smooth performance.
- Cost-Effectiveness: While pre-built PCs may come with unnecessary features, building your own streaming PC ensures you get the best bang for your buck by selecting components suited to your specific needs.
Components You’ll Need to Build a Streaming PC
When considering how to build a streaming PC, selecting the right components is crucial. Here’s a breakdown of the essential parts you’ll need:
1. CPU (Processor)
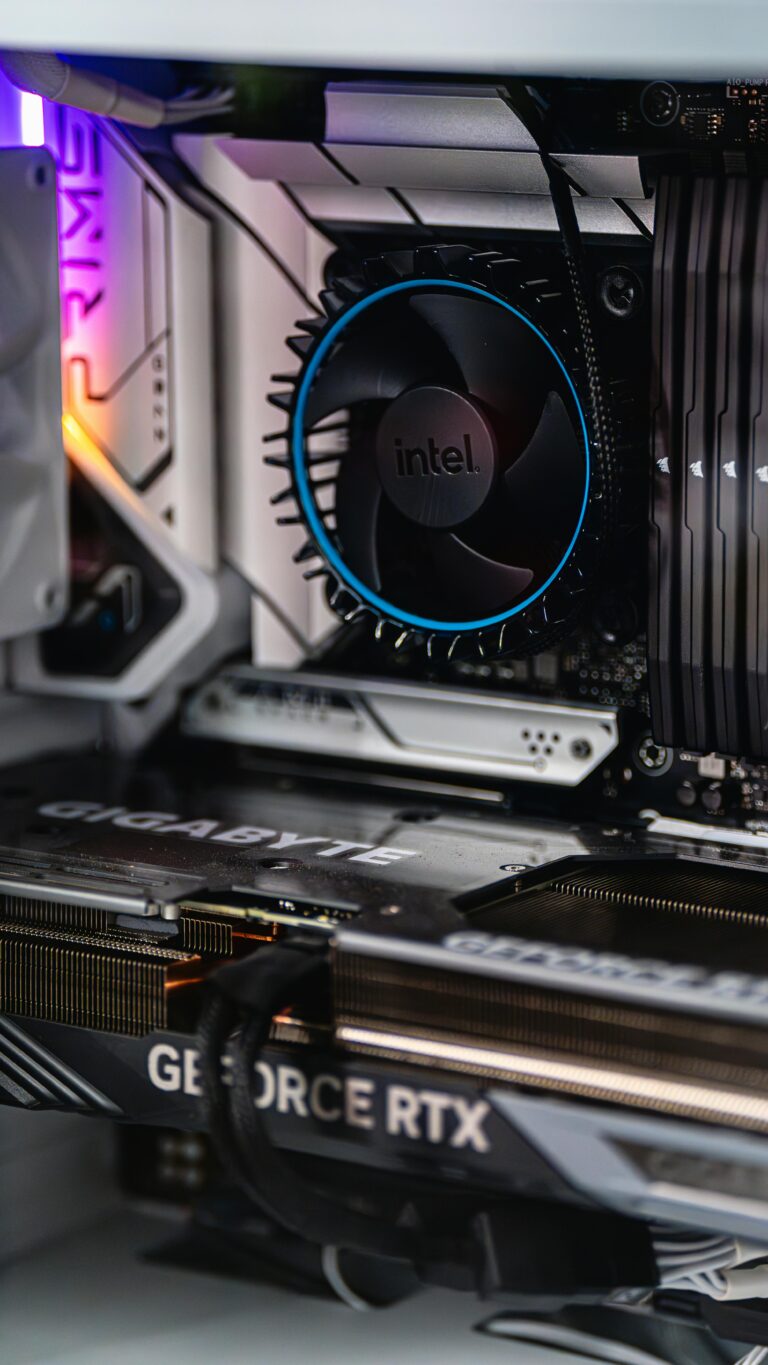
The CPU is the brain of your PC and plays a critical role in streaming. For live streams, a CPU that supports multiple threads and handles simultaneous tasks is necessary. A Ryzen 5 5600X or Intel Core i7 (or better) will provide the power you need for seamless streaming.
- Recommendation: AMD Ryzen 5 5600X or Intel Core i7-12700K.
2. GPU (Graphics Card)
For gaming or graphic-intensive tasks, a good GPU is key. High-end GPUs like the NVIDIA RTX 3060 or AMD Radeon RX 6700 XT ensure smooth gameplay while encoding video for streaming.
- Recommendation: NVIDIA RTX 3060 or AMD Radeon RX 6700 XT.
3. RAM (Memory)
Streaming requires sufficient memory to handle multiple applications like games, streaming software, and browsers simultaneously. Aim for at least 16GB of RAM, but for future-proofing, 32GB is ideal.
- Recommendation: 16GB DDR4 RAM (or upgrade to 32GB for heavy tasks).
4. Motherboard
Your motherboard needs to support all your other components, especially your CPU and GPU. Make sure it has enough USB ports for peripherals like your camera, microphone, and external devices.
- Recommendation: ASUS ROG Strix B550-F or MSI Z590-A PRO for Intel builds.
5. Storage (SSD or HDD)
Streaming software and games can take up a lot of space. An SSD provides faster load times, so consider 1TB SSD for your main drive, with an additional HDD for extra storage if needed.
- Recommendation: 1TB SSD (Samsung 970 EVO Plus).
6. Power Supply (PSU)
Ensure you have enough wattage to power all your components. A 650W-750W PSU should be sufficient for most mid-range builds, but check the power requirements of your GPU and other parts.
- Recommendation: EVGA 650W Gold or Corsair RM750X.
7. Case
Your PC case should have good airflow to keep components cool during long streams. Ensure it fits all your parts, especially the GPU, which can be quite large.
- Recommendation: NZXT H510 or Cooler Master MasterBox Q300L.
8. Cooling System
Streaming and gaming can generate a lot of heat. To keep your CPU cool, consider getting a solid air cooler like the Noctua NH-D15 or a liquid cooler if you prefer quieter, more efficient cooling.
- Recommendation: Noctua NH-D15 or Corsair H100i for liquid cooling.
9. Capture Card (Optional)
If you’re streaming content from a console or a second PC, you’ll need a capture card. It captures the video feed from another device and sends it to your PC for streaming.
- Recommendation: Elgato HD60 Pro or AverMedia Live Gamer Duo.
Step-by-Step Guide on How to Build a Streaming PC
Now that you’ve selected the right parts, follow this step-by-step guide to assemble your PC.
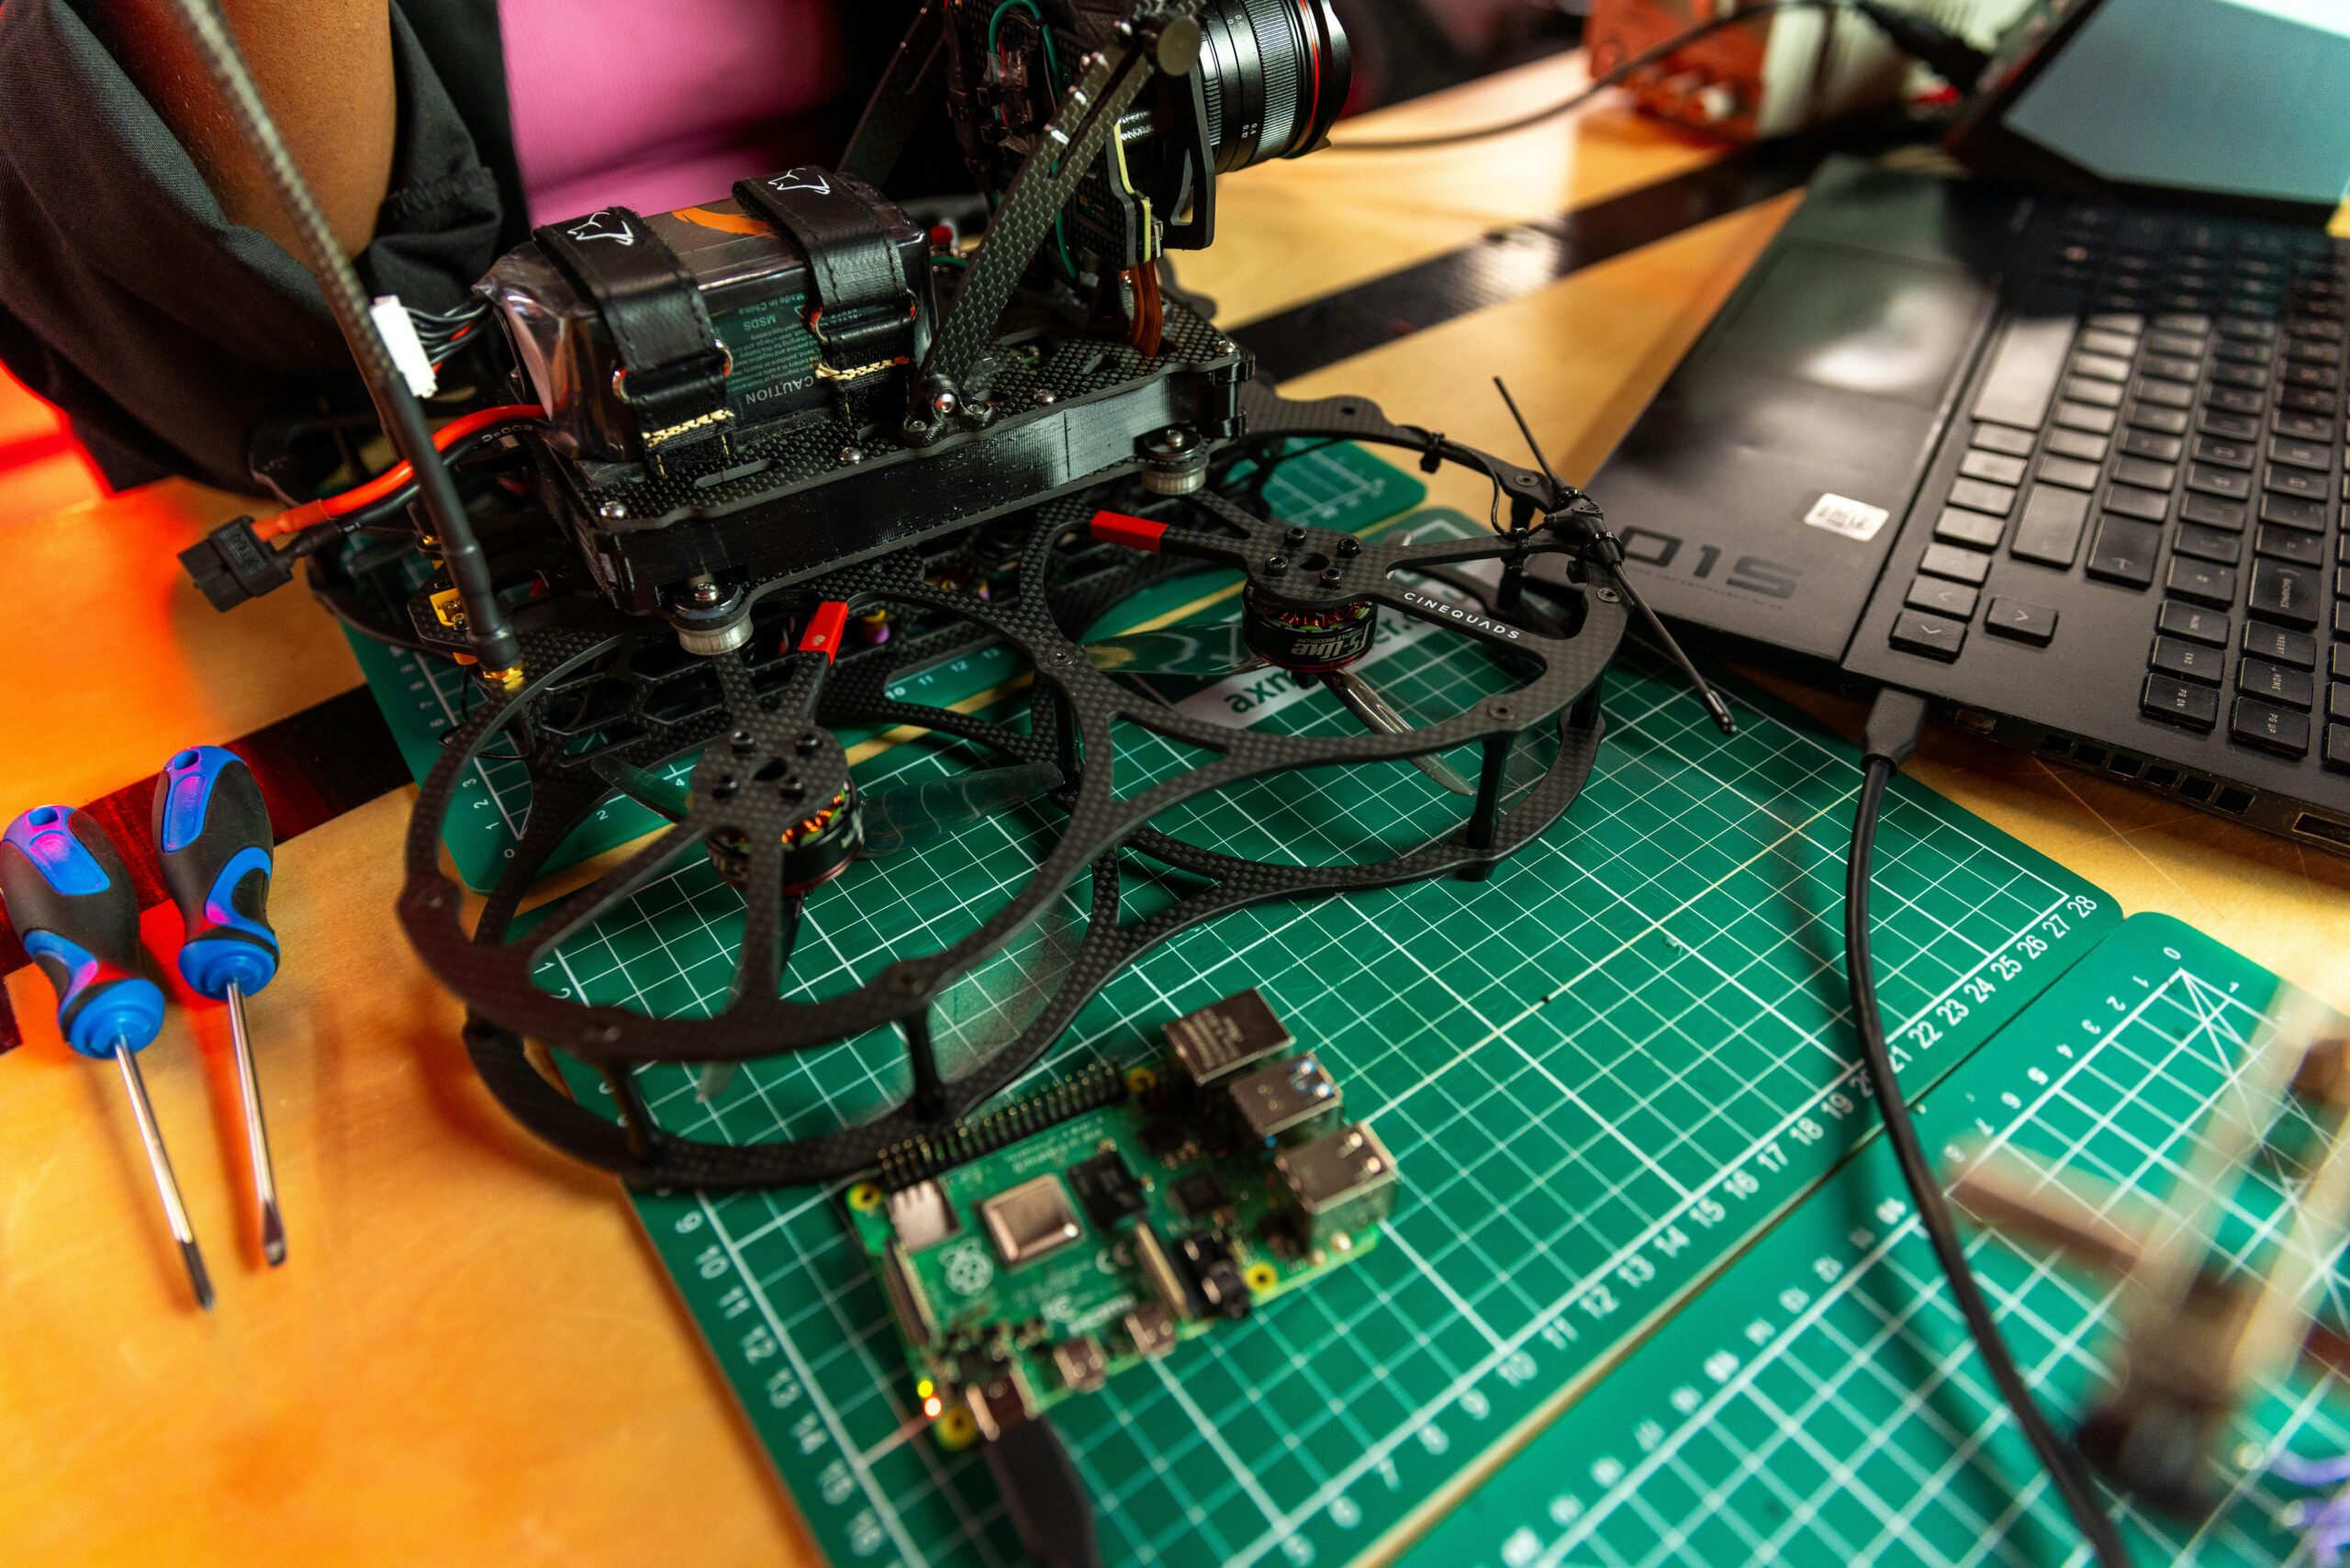
1. Prepare Your Workspace
Make sure you have a clean, static-free workspace. Lay out all your components and gather the necessary tools (usually a Phillips-head screwdriver).
2. Install the CPU
Start by installing the CPU into the motherboard. Open the CPU socket, align the triangle on the CPU with the socket, and gently place it in. Close the socket and make sure the CPU is firmly seated.
3. Install RAM
Next, insert the RAM sticks into the motherboard’s DIMM slots. Ensure they’re aligned correctly and press down until they click into place.
4. Install the Motherboard
Carefully place the motherboard into your case, aligning it with the standoffs. Secure it using screws provided with the case.
5. Install the Power Supply
Mount the PSU at the bottom of your case and secure it with screws. Plug the necessary cables into the motherboard, GPU, and other components.
6. Install the GPU
Slot the GPU into the PCIe slot on the motherboard. Secure it with screws, and connect the necessary power cables from the PSU.
7. Install Storage
Insert your SSD into the designated M.2 slot on the motherboard or connect an HDD/SSD via SATA cables.
8. Connect Power and Cables
Connect all remaining cables, including case fans, front-panel connectors, and power cables. Ensure all connections are secure and well-organized to avoid obstructing airflow.
9. Install Cooling System
Install your CPU cooler, either air or liquid, and connect it to the CPU fan header on the motherboard.
10. Test the Build
Before closing the case, power on your PC to make sure everything is working. Check that the fans spin, the lights turn on, and the system boots to BIOS.
11. Install the Operating System
Once everything is functioning, install your operating system (Windows, Linux, etc.) from a bootable USB. Follow the prompts to set up your system.
Software Setup for Streaming
Once your PC is built, you’ll need the right software to start streaming. Download and install streaming software like OBS Studio or Streamlabs OBS. Configure your settings to match your internet speed and hardware capabilities.
- Streaming Platform: Choose a platform like Twitch, YouTube, or Facebook Gaming.
- Settings: Adjust bitrate, resolution, and frame rate to ensure a smooth streaming experience without overwhelming your PC.
Final Tips for Building a Streaming PC
- Upgradability: Always choose components that offer room for future upgrades, like additional RAM slots or better cooling options.
- Internet Connection: Streaming requires a fast, stable internet connection. Consider using a wired Ethernet connection for better performance.
- Dual PC Setup: For high-end streams, you may want to consider a dual-PC setup—one PC for gaming and another for streaming.
Conclusion
Building your own streaming PC may seem daunting, but with the right components and a clear plan, you can assemble a machine that meets your streaming needs. Now that you know how to build a streaming PC, you’re ready to create high-quality content and stream without limitations. Start streaming with confidence, knowing your custom-built PC is up for the challenge!


